
One of the biggest gateways for data loss is not always the hacker who cracks a password, but the gullible employee who gives an app access to his data. "This app wants to read your contacts and send emails" – a quick click on "Accept" and the data will flow out.
To minimize this risk ("Illicit Consent Grant") and retain GDPR sovereignty, we need to control who is allowed to grant access to whom.
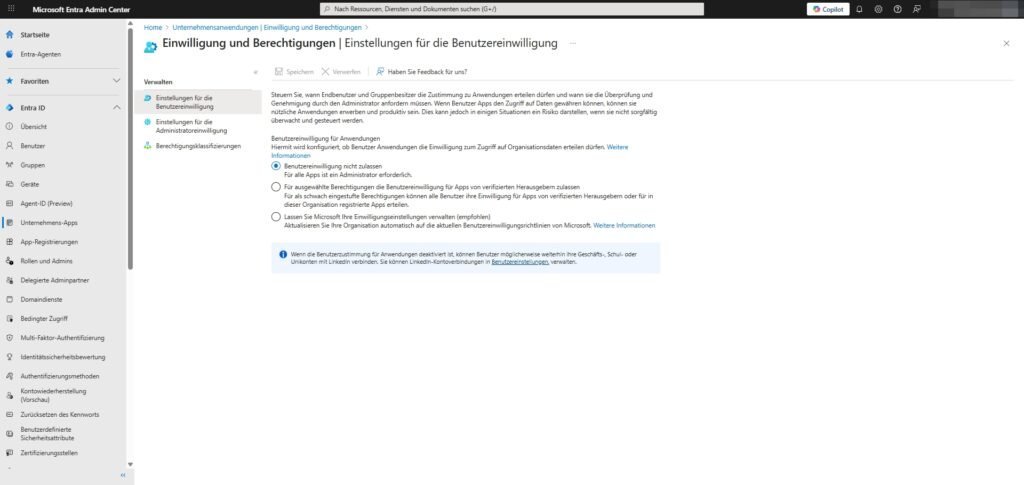
1. User Consent Settings
Here you decide whether your employees are allowed to install third-party apps independently and feed them with company data.
Path: Identity > Applications > Enterprise Applications > Consent and Permissions > User Consent Settings
Recommended configuration:
- User consent for applications: → do not allow user consent.
- Why: This is the safest option. It prevents users from arbitrarily authorizing apps that could siphon off data. An administrator is then required for each app.
- Alternative (less strict): "Allow user consent for apps from verified publishers for selected permissions".
- This allows users to install apps if two conditions are met: 1. The manufacturer is verified by Microsoft AND 2. The app only requires harmless rights (see point 3 "Classification").
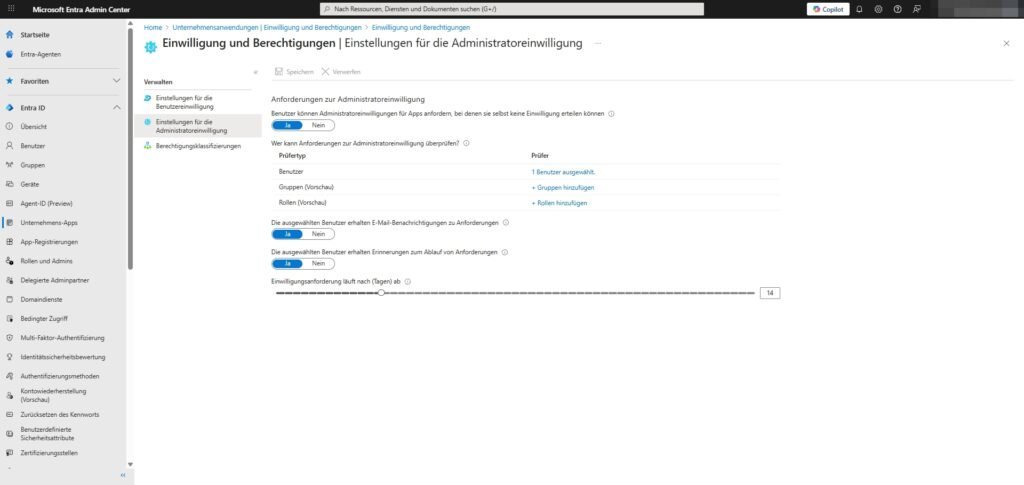
2. The admin consent workflow
If you block user consent at the top, employees will encounter an error message when they need a useful app. That is frustrating. The solution is the admin consent workflow.
Instead of "Access denied", the user will then see a window: "Request approval by admin".
Path: Identity > Applications > Enterprise Applications > Consent and Permissions > Administrator Consent Settings
Recommended configuration:
- Users can request admin consent for apps...: → Yes.
- Why: This is the only way admins can find out which tools are needed in the company without blocking users.
- Who can review requests?: → Select users (e.g., IT managers), groups (e.g., help desk), or roles .
- Notifications: Set both switches to Yes so that the reviewers are informed by email and no request gets lost.
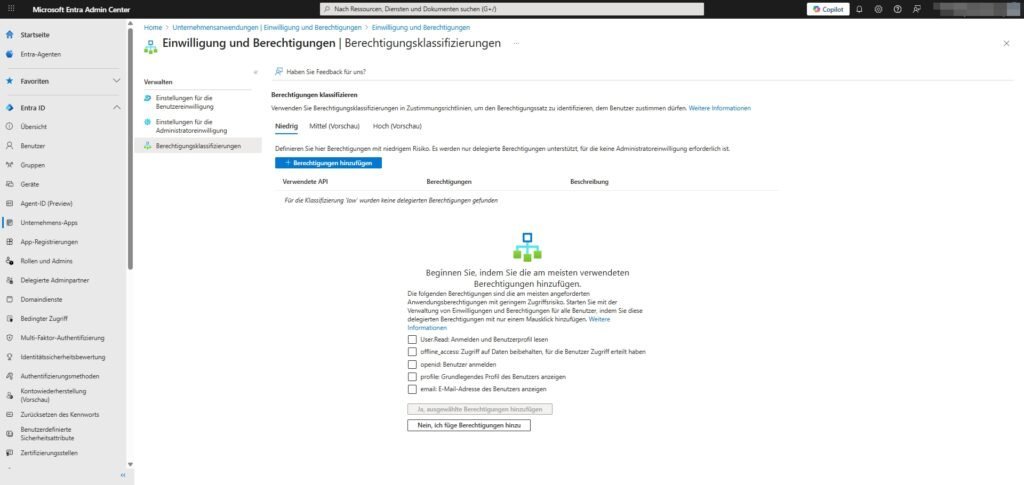
3. Authorization Classifications
This area is especially important if you chose the "middle ground" (Verified Publishers) in Step 1. Here you define what "low risk" actually means.
Path: Identity > Applications > Enterprise Applications > Consent and Permissions > Permission Classifications
Here you can choose which permissions are classified as Low. Apps that only require these rights are likely to be installed by users themselves (in the middle of the way scenario).
Recommended "Low Risk" permissions: Microsoft suggests starting with the most commonly used, innocuous permissions:
User.Read(Log in and read profile)offline_access(Keep access)openid(User Login)profile(View basic profile)email(Show email address)
Add it under the "Low" tab. Anything beyond that (e.g. "read files" or "send emails") is automatically considered a higher risk and requires an admin.
Sei der Erste und starte die Diskussion mit einem hilfreichen Beitrag.
Kommentar hinterlassen
Dein Beitrag wird vor der Veröffentlichung kurz geprüft — fachlich, respektvoll und auf den Punkt ist hier genau richtig.